Your time is valuable. And if you just moved in, your to-do list is already pretty huge. Let’s save you time while helping you achieve your DIY dreams of a freshly painted interior.
Because we want to set you up for success, we’re going to break this up into two parts: Prep/tools and technique/tricks. Let’s start off this week by looking at the preparation phase and the tools you need to get this project started!
The Prep Phase
We get it – you’ve sat on Pinterest for hours determining your inspiration and narrowing down the vision for your project room. You’re fueled on coffee and have the momentum to get this project started. We beg you, please don’t rush! The prep phase is crucial to getting the results you desire.
Sunny days ahead. If possible, wait for climates that are not too humid or too dry. Either extreme can lead to problems while painting and priming.
Prepare the walls. Begin with a visual inspection of the room/area you will be painting. Prepare the walls by sanding away any imperfections and cleaning dirty walls. A degreaser like Simple Green will do the trick.
Remove it. Remove all outlets, light switches, and vent covers. Anything that is in the room that you don’t want to be painted, do your best to remove it completely. If that is not possible, use masking film to cover it. Accidents can escalate quickly. Don’t risk damaging your things.
Don’t skip the tape. Painters tape is your friend. Generously apply painter’s tape (the blue one) to the edge of all surfaces that will not be painted. Ensure that the tape is pressed down well against the wall by using a putty knife and do your best to run the tape in long stretches without breaking it off too often. This will make for easier clean-up after you are done priming and painting.
Pro tip: Don’t wait too long before removing your tape! Typically, about one hour after you complete the job you should be good. Just make sure the paint feels dry to the touch.
Tools need prep, too. Items like roller covers need to be washed first with water and a little bit of dish soap in order to remove any fuzz that may come off with its first use. Before using a paintbrush, it should be pre-wetted with water if latex paint is being used or mineral spirits for an oil base paint, says Kelly Moore Paints.
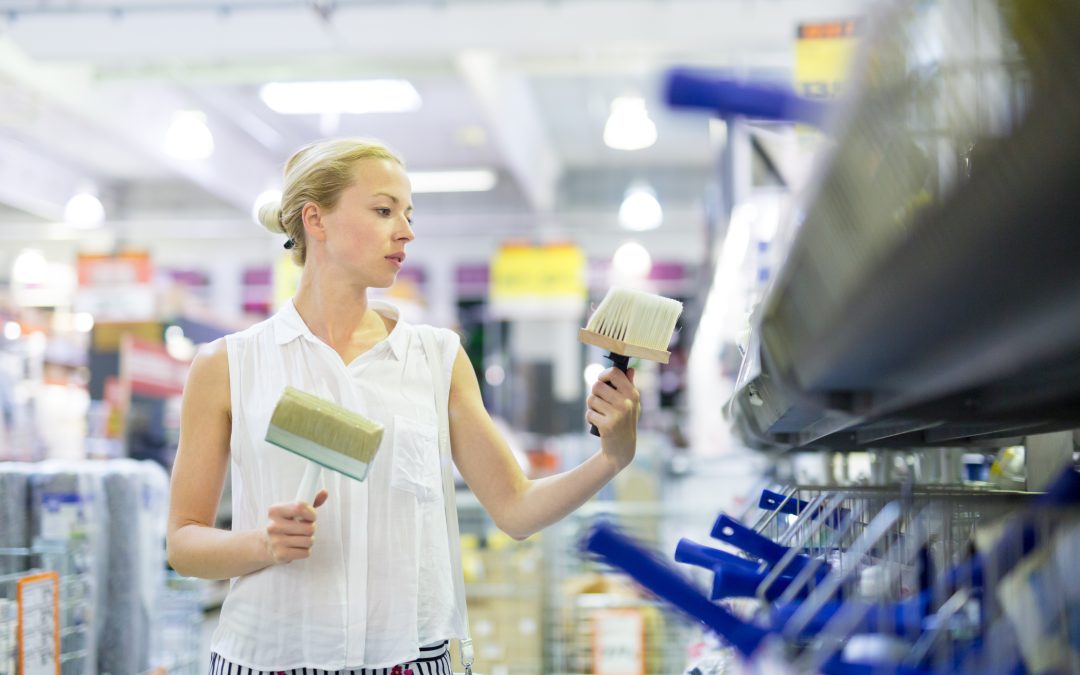
Have the Right Tools for the Job
Understanding what tools you need to complete the job may not be as obvious as you think. Sure, you can walk into your local home improvement store, but they may not take the time to give you the clarity you need.
This isn’t the time to be cheap. While we are always conscientious about a budget, your paintbrush, roller cover, and paint are really not something you want to take the cheapest route on. Investing in these tools now sets your project up for success so you can be satisfied with the look of your results.
Prime, but do it right. You may just assume that the paint-and-primer combination will do the job. However, we definitely recommend a separate primer if it has been over eight years since the last paint job. Additionally, if the color(s) your painting over is not similar, a true primer will be needed.
Pro tip: Use a tinted primer to avoid “flashing.” Flashing happens when filled and patched holes and cracks give the paint a dull look. The final product will look noticeably different in those corrected areas. You can avoid this by adding a bit of the finish color or gray paint to the primer.
Glove up. If you’re concerned about getting paint on your hands, a latex or nitrile glove would be a good choice. These will allow for good mobility and dexterity while protecting your fingers from the scrub down they’d have to receive later.
Drop it. Drips and drops always occur during a paint job, even amongst professionals. If you don’t want those little drops to end up across your entire home after stepping on wet paint, we suggest using a canvas drop cloth. This material allows for those little spills to dry up quickly and provides far superior protection for your flooring.
Double up. We recommend having at least two paint buckets on hand. This will allow you to properly re-mix your paint by pouring between two back and forth when it has settled.
That’s it for the first half of our time-saving tips for painting your home’s interior. Later this month, we’ll fill you in on the top techniques and pro tricks that will help your home painting experience go smoothly.
For all of your packing and moving needs, remember that Elite Moving is here to help.
Recent Comments